
There’s something deeply nostalgic and comforting about the classic combination of peanut butter and chocolate.
It reminds me of childhood treats—but this version feels a little more grown-up and guilt-free.
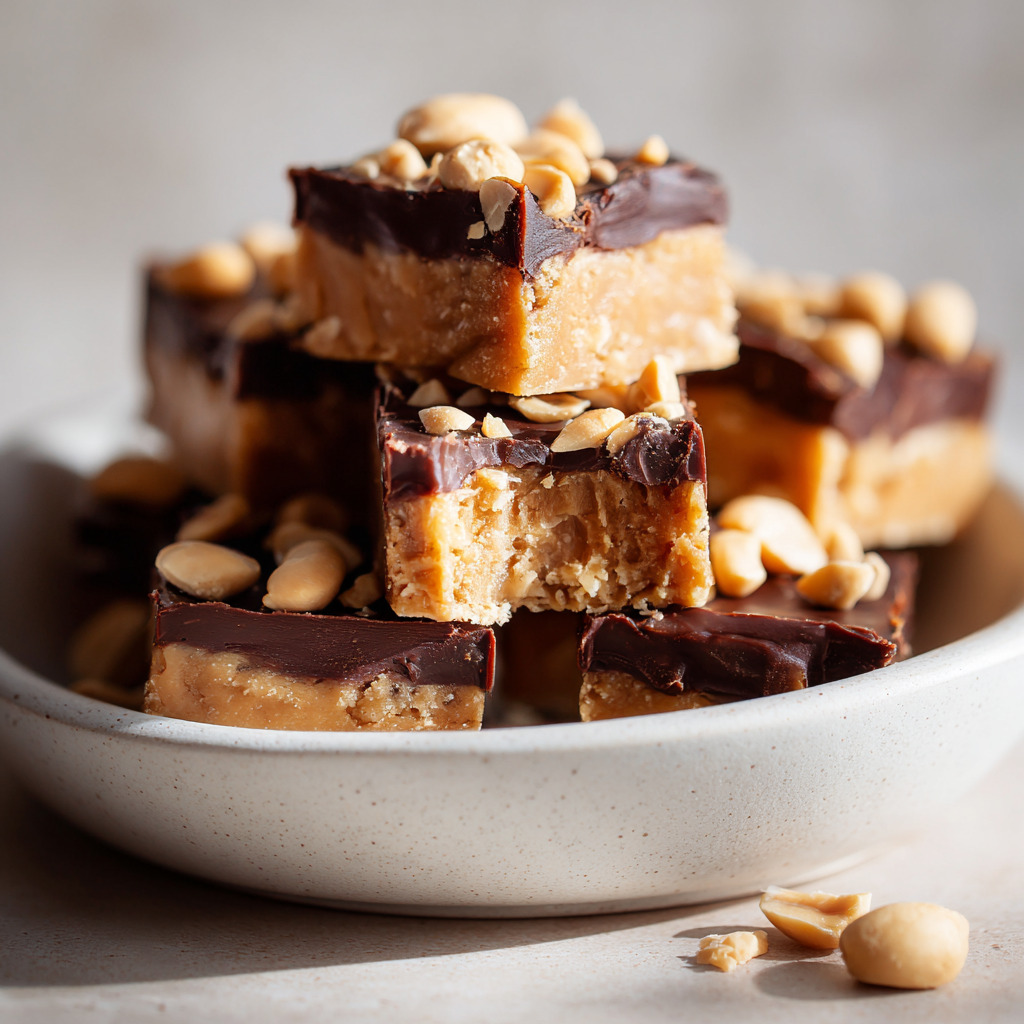
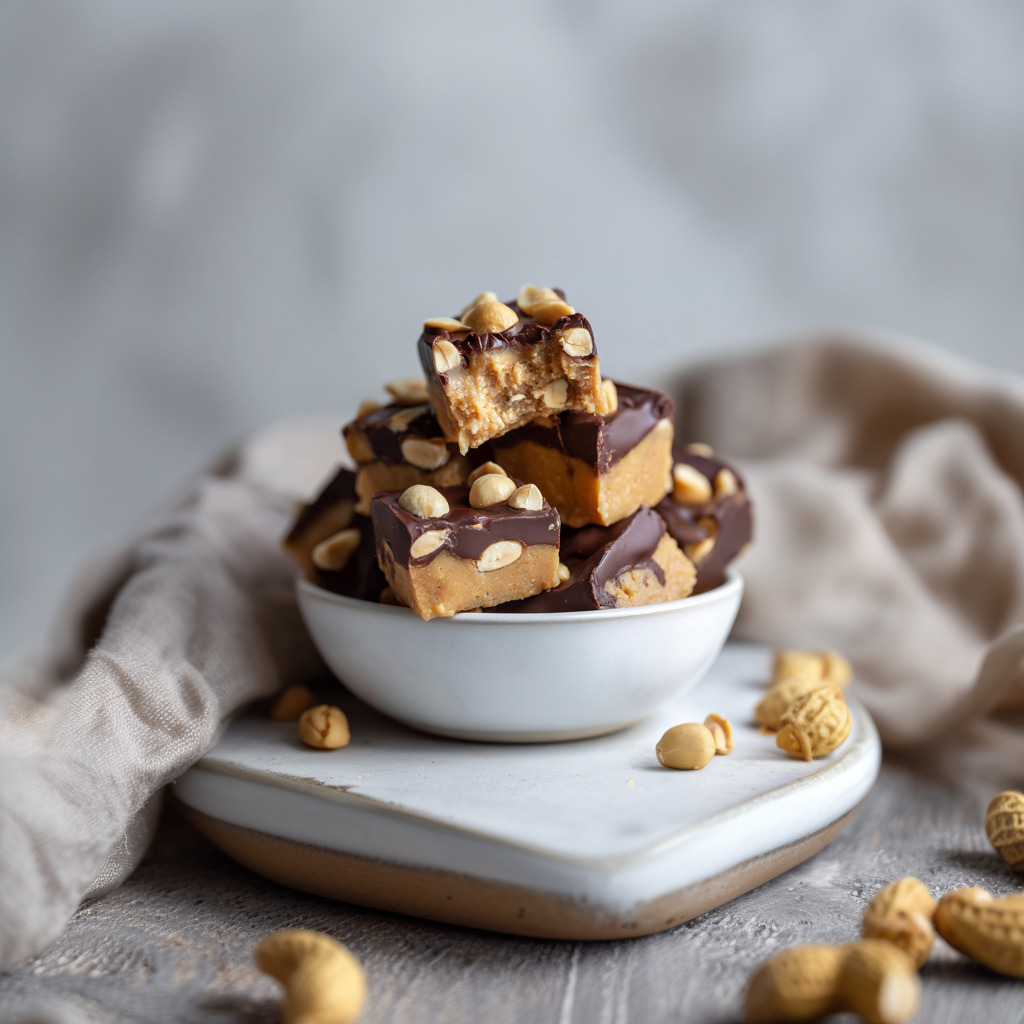
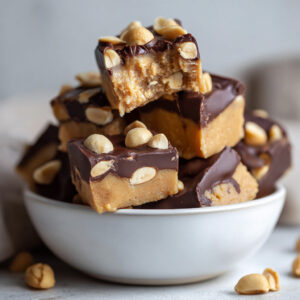
These peanut butter chocolate bites are everything I want in a quick sweet snack: creamy, crunchy, rich, and just the right amount of indulgence.
Why I Love These Peanut Butter Chocolate Bites
No-bake and stress-free – All you need is a freezer and a few pantry staples.
Creamy + crunchy combo – Silky peanut butter meets crispy peanuts and smooth chocolate.
Naturally sweetened – Maple syrup adds just enough sweetness without refined sugar overload.
Customizable – You can adjust the base, filling, or chocolate layer easily to suit any taste or diet.
Perfect portions – Great for portion control and on-the-go snacking.
What You’ll Need (Ingredient Highlights)
Oat flour – Forms the chewy base and keeps it gluten-free.
Runny peanut butter – Essential for both the base and filling. It adds creaminess and flavor.
Maple syrup – Natural sweetener that blends beautifully into each layer.
Almond milk – Helps bring the base together.
Vanilla extract – Adds warm, aromatic depth.
Peanuts – Add crunch and texture in the filling.
Coconut oil – Smooths the filling and helps the chocolate harden.
Chocolate chips – The final rich coating layer—dark or semi-sweet both work.
Pro Tips Before You Start
Use silicone molds – Makes it easy to pop out the bites cleanly.
Melt chocolate gently – Use a double boiler or microwave in 30-second bursts.
Keep everything smooth – Make sure your peanut butter is runny enough to mix easily.
Let layers set fully – Don’t rush the freezing steps or the bites may fall apart.
Thaw slightly before serving – They taste best after sitting out a few minutes.
How to Make Peanut Butter Chocolate Bites
Step 1: Prepare the Base
In a mixing bowl, combine oat flour, runny peanut butter, maple syrup, almond milk, and vanilla extract.
Stir until a soft, dough-like mixture forms.
Step 2: Press Into Molds
Scoop the dough into silicone ice cube molds.
Press down firmly to create an even layer.
Place the molds in the freezer while you make the filling.
Step 3: Make the Peanut Filling
In a bowl, stir together runny peanut butter, coconut oil, and maple syrup until smooth.
Sprinkle whole peanuts over the base layer, then pour the peanut butter mixture over them, covering the peanuts completely.
Step 4: Freeze the Layers
Return the mold to the freezer and let it set for at least 30 minutes until firm.
Step 5: Add the Chocolate Coating
Melt chocolate chips with coconut oil until smooth.
Pour a layer over the frozen bites and gently spread to cover.
Step 6: Final Freeze
Place the mold back in the freezer for 2–3 hours or until the bites are fully set.
Step 7: Unmold and Store
Once set, pop the bites out of the mold.
Store them in an airtight container in the freezer. Let thaw for a few minutes before enjoying.
What to Serve It With
A cup of hot coffee or tea
Fresh berries for a refreshing contrast
Crushed over yogurt or smoothie bowls
Packed in lunchboxes as a sweet surprise
Enjoyed solo as a late-night freezer snack
Variations / Substitutions
Swap the peanut butter – Try almond, cashew, or sunflower seed butter for a twist.
Use another sweetener – Agave syrup or date syrup works too.
No oat flour? – Make your own by blending rolled oats until fine.
Nut-free – Use sunflower butter and omit the peanuts for an allergy-friendly version.
Chocolate alternative – Use white chocolate or drizzle with melted dark chocolate only.
Storage & Leftovers
Freezer – Store in an airtight container up to 2 months.
Serving tip – Let them thaw for 3–5 minutes for perfect bite texture.
Meal prep approved – Make a big batch and enjoy throughout the week.
Avoid refrigeration – They soften too quickly; freezer is best.
FAQs
Can I use regular peanut butter instead of natural/runny?
Yes, but you may need to add a splash of almond milk to loosen the texture for mixing.
Can I use muffin liners instead of ice cube molds?
Absolutely! Silicone muffin cups work great and make removing the bites easy.
Do I need to toast the peanuts first?
Toasting is optional, but it does bring out more flavor and crunch.
Can I skip the coconut oil?
You can, but the texture may not set as cleanly without it—especially in the chocolate layer.
Is there a dairy-free version?
Yes! Use dairy-free chocolate chips and plant-based milk.
Can I use honey instead of maple syrup?
Yes, though it will change the flavor slightly—it’ll still taste great.
How do I keep the chocolate layer from cracking?
Let the bites thaw for a minute before unmolding, and don’t make the chocolate layer too thick.
Final Thoughts
These peanut butter chocolate bites are one of those recipes I come back to over and over again. They’re reliable, rich, and endlessly customizable.
Whether you’re making them for a treat, meal prep, or a little pick-me-up in the middle of the day, they never disappoint. Sweet enough to satisfy, but wholesome enough to feel good about.
Peanut Butter Chocolate Bites
Ingredients
For the base:
- ½ cup oat flour
- ⅛ cup runny peanut butter
- ⅛ cup maple syrup
- 1 tbsp almond milk
- 1 tsp vanilla extract
For the filling:
- ½ cup runny peanut butter
- 1 tbsp coconut oil
- 1 tbsp maple syrup
- ½ cup peanuts
For the chocolate coating:
- ¾ cup chocolate chips
- 1 tbsp coconut oil
Instructions
- In a bowl, mix oat flour, peanut butter, maple syrup, almond milk, and vanilla until dough forms.
- Press the mixture into silicone molds. Freeze while making the filling.
- Stir peanut butter, coconut oil, and maple syrup until smooth.
- Sprinkle peanuts over the base.
- Pour peanut mixture on top. Freeze for 30 minutes.
- Melt chocolate chips and coconut oil. Pour over frozen bites.
- See full steps with tips & photos → https://p4pd.org/peanut-butter-chocolate-bites/
Notes
- If you don’t have a silicone mold, you can use an ice cube tray or a mini muffin tin lined with paper liners.
- Feel free to use dark chocolate, milk chocolate, or even white chocolate, depending on your preference.