
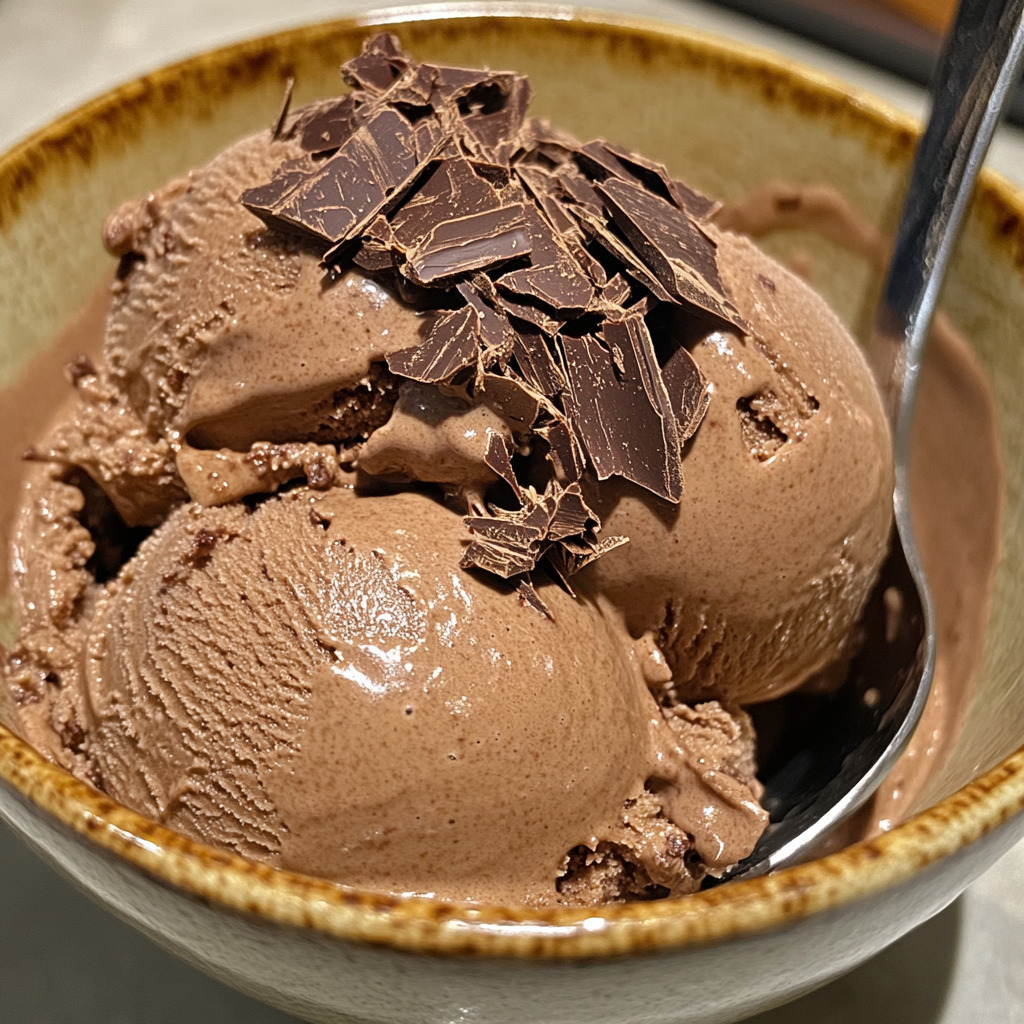
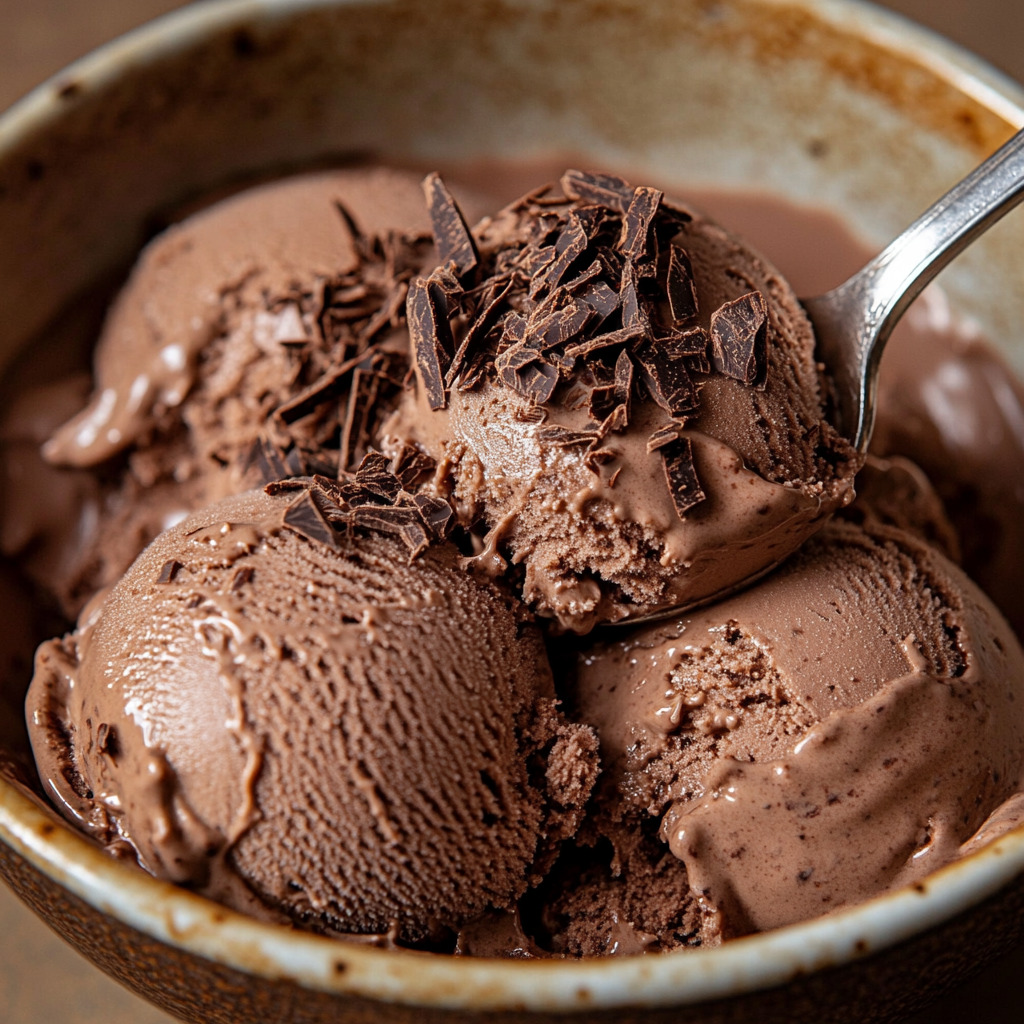
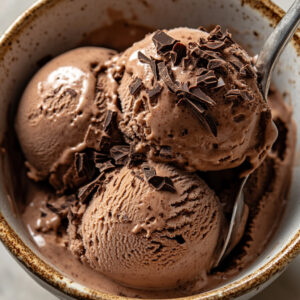
This No-Churn Chocolate Ice Cream is rich, creamy, and unbelievably easy to make at home.
No ice cream maker required—just a few ingredients and a mixer.
It’s a chocolate lover’s dream come true!
Why You’ll Love This No-Churn Chocolate Ice Cream
Super Creamy Texture: Like premium chocolate ice cream
No Machine Needed: No-churn means no fuss
Bold Chocolate Flavor: Thanks to cocoa powder and chocolate chips
Quick Prep: Ready for the freezer in 10 minutes
Great for Customization: Add nuts, swirls, or toppings
What You’ll Need (Ingredient Highlights)
Heavy Whipping Cream: Whipped to create light, airy texture
Sweetened Condensed Milk: Sweetens and smooths the base
Unsweetened Cocoa Powder: For a deep chocolate flavor
Chocolate Chips or Chunks: Optional, for added texture
Vanilla Extract: Enhances richness
Salt: A pinch brings out all the flavors
Pro Tips Before You Start
Use Cold Cream: Whips faster and holds volume
Sift Cocoa Powder: Prevents lumps
Fold Gently: Don’t deflate the whipped cream
Freeze Overnight: For best scoopable texture
Taste Before Freezing: Adjust cocoa or salt if needed
How to Make No-Churn Chocolate Ice Cream
Step 1: Whip the Cream
In a large mixing bowl, beat cold heavy whipping cream until stiff peaks form. Set aside.
Step 2: Mix the Chocolate Base
In another bowl, whisk together the sweetened condensed milk, sifted cocoa powder, vanilla extract, and a pinch of salt until smooth and combined.
Step 3: Combine and Fold
Gently fold the chocolate mixture into the whipped cream until no streaks remain.
Be careful not to overmix.
Step 4: Add Chocolate Chips
If using, fold in chocolate chips or chunks for texture.
Step 5: Freeze
Transfer to a loaf pan or freezer-safe container.
Cover and freeze for at least 6 hours or overnight until firm.
What to Serve It With
Chocolate syrup or hot fudge
Fresh strawberries or raspberries
Crushed cookies or brownie chunks
Whipped cream and sprinkles
Waffle cones or bowls
Variations / Substitutions
Mocha Version: Add 1 tsp instant espresso powder
Mint Chocolate: Add peppermint extract and green food coloring
Peanut Butter Swirl: Drop spoonfuls before freezing and swirl
Dairy-Free: Use coconut cream and dairy-free condensed milk
Dark Chocolate Boost: Melt and fold in dark chocolate ganache
Storage & Leftovers
Freezer: Store in airtight container up to 2 weeks
Texture Tip: Cover with plastic wrap directly on the surface to avoid ice crystals
Soften Before Serving: Let sit 5–10 mins before scooping
FAQs
Can I use milk instead of cream?
No, it won’t whip properly or give the same creamy result.
Is it very sweet?
It’s well balanced, but you can reduce sweetened condensed milk slightly if preferred.
Can I add nuts or caramel?
Absolutely! Swirl or fold in your favorite mix-ins before freezing.
Can I use Dutch-process cocoa?
Yes—Dutch cocoa gives a smoother, richer taste.
Can I make this with an ice cream machine anyway?
You could, but it’s formulated to be no-churn—it’s already silky smooth!
Final Thoughts
No-Churn Chocolate Ice Cream is the easiest way to satisfy a chocolate craving without needing special equipment.
It’s indulgent, smooth, and endlessly adaptable with your favorite add-ins.
Once you try it, you’ll want to keep a batch ready in the freezer all summer long.
No-Churn Chocolate Ice Cream
Ingredients
- 2 cups heavy whipping cream cold
- 1 can 14 oz sweetened condensed milk
- ½ cup unsweetened cocoa powder sifted
- ½ cup chocolate chips or chunks optional
- 1 tsp vanilla extract
- Pinch of salt
Instructions
- Whip cold cream to stiff peaks in a large bowl.
- In another bowl, whisk condensed milk, cocoa, vanilla, and salt until smooth.
- Fold chocolate base into whipped cream gently.
- Stir in chocolate chips if using.
- Pour into container, cover, and freeze 6+ hours.
- See full steps with tips & photos → https://p4pd.org/no-churn-chocolate-ice-cream/
Notes
- Sift the cocoa powder to avoid lumps in the base.
- For a richer flavor, use dark chocolate chunks or swirl in fudge sauce before freezing.
- Store in an airtight container in the freezer for up to 2 weeks.