
There’s something so comforting about making marshmallows from scratch—especially when they’re infused with the deep, earthy sweetness of pure maple syrup.
The process feels like magic: liquid becomes fluff, and fluff becomes joy.
Every time I slice into a cloud of homemade marshmallow, I’m reminded of chilly evenings, warm drinks, and the kind of sweetness that feels like a hug.
Why You’ll Love This Recipe
Made with real maple syrup—no corn syrup needed.
Light, fluffy texture with a naturally sweet, rich flavor.
Perfect for cocoa, s’mores, or gifting.
Surprisingly simple with just 5 basic ingredients.
Naturally gluten-free and crowd-pleasing.
What You’ll Need (Ingredient Highlights)
Maple syrup – The star ingredient! Use real maple syrup for best flavor.
Powdered gelatin – Sets the marshmallow to soft, bouncy perfection.
Cold water – For blooming the gelatin and creating the structure.
Salt – A pinch sharpens and balances the sweetness.
Confectioner’s sugar – Prevents sticking and adds a soft finish.
Pro Tips Before You Start
Use a candy thermometer to ensure accuracy—235°F is essential.
Prep your pan with parchment and powdered sugar before starting.
A stand mixer with a whisk attachment is a must—the fluff happens fast.
Work quickly once the mixture is whipped—marshmallows set rapidly.
How to Make Maple Marshmallows
Step 1: Prep the Pan
Butter a 9×13-inch pan and line it with parchment paper, leaving overhang on the sides for easy removal.
Dust generously with powdered sugar.
Step 2: Bloom the Gelatin
Pour cold water into the bowl of a stand mixer and sprinkle gelatin over it.
Let it sit while you prepare the syrup.
Step 3: Cook the Maple Syrup
In a deep saucepan, bring the maple syrup to a boil.
Let it cook over medium heat without stirring until it reaches 235°F (soft ball stage).
Watch closely to avoid burning or boiling over.
Step 4: Combine and Whip
Turn the mixer to low speed and slowly drizzle the hot syrup into the bloomed gelatin.
Once combined, increase speed to high and beat until the mixture is thick, glossy, and holds stiff peaks.
Add a pinch of salt.
Step 5: Spread and Set
Quickly scrape the marshmallow mixture into your prepared pan and smooth the top with a spatula.
Let it sit uncovered at room temperature for several hours or overnight.
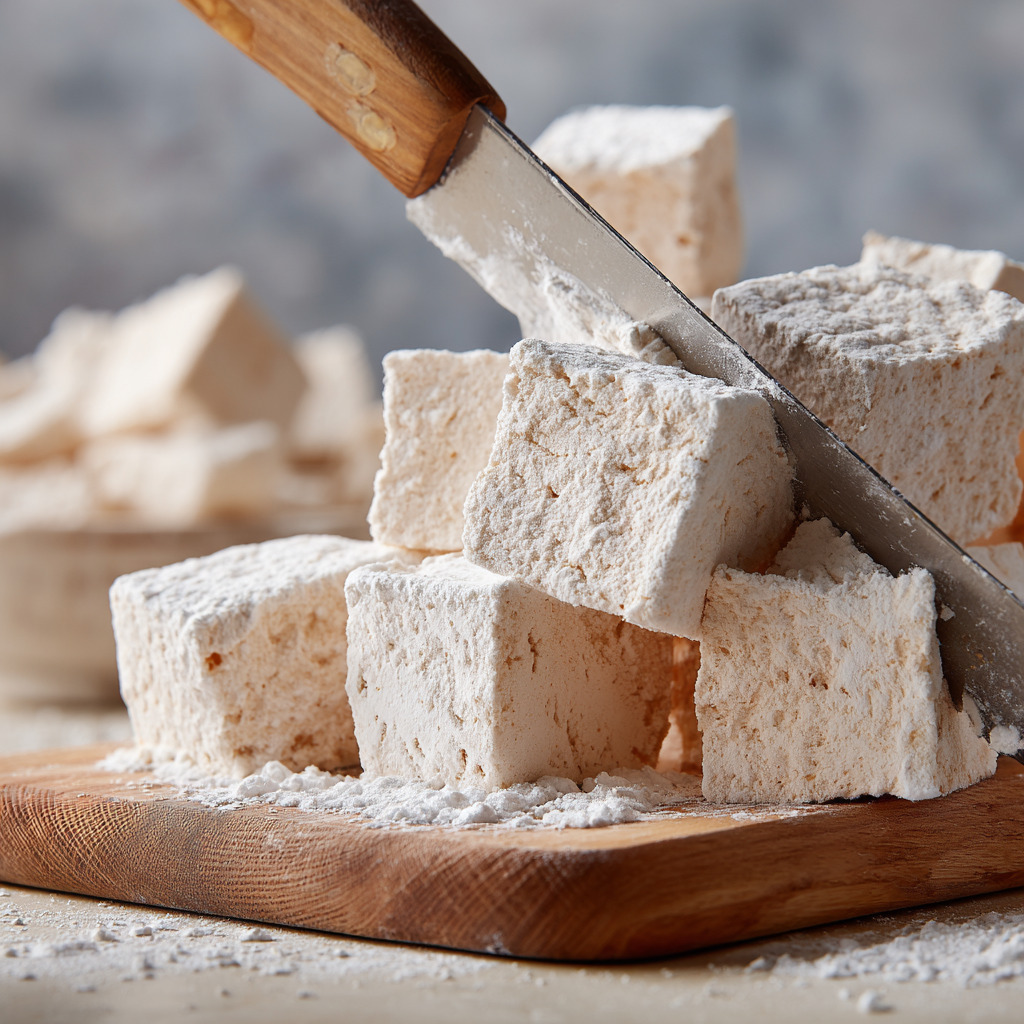
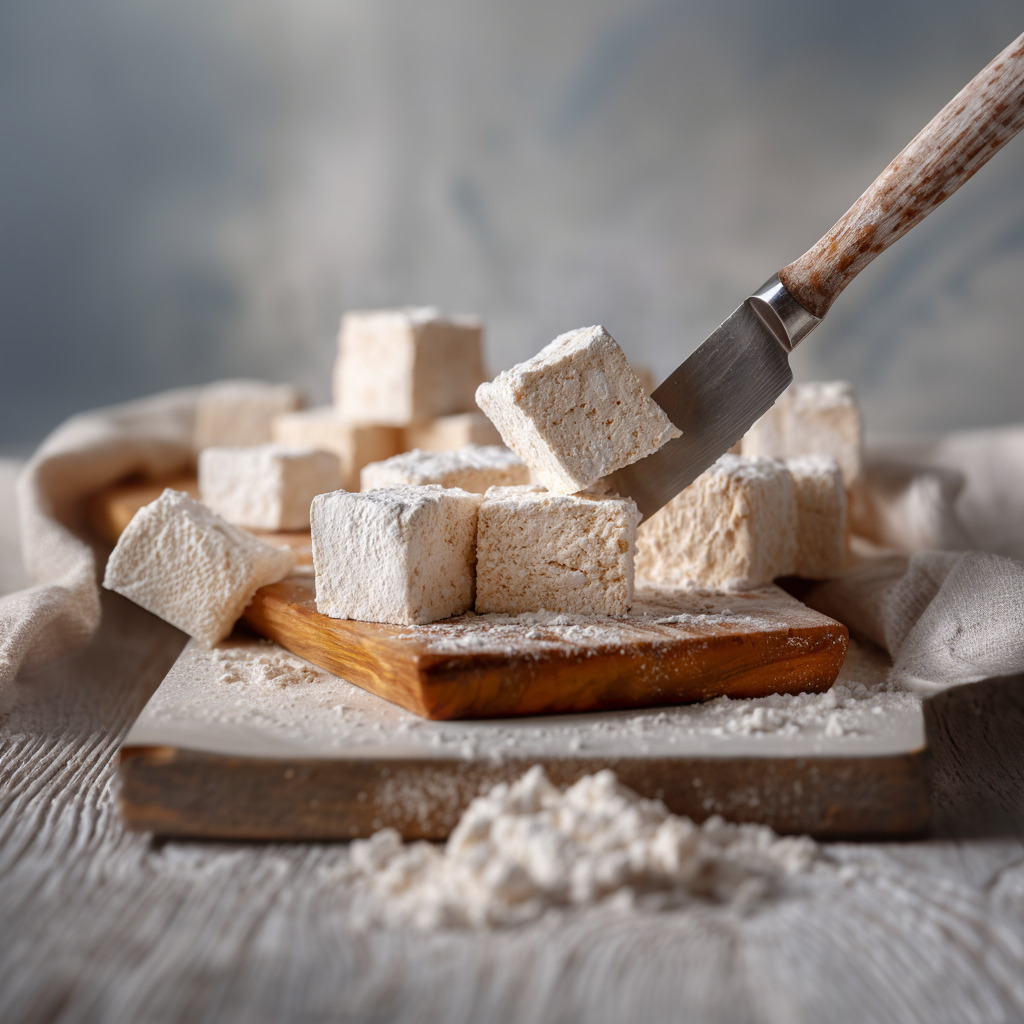
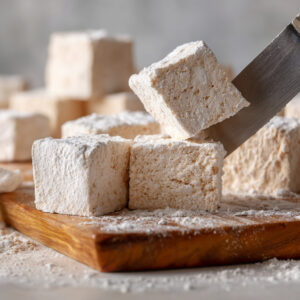
Step 6: Dust and Cut
Remove the set marshmallow slab using the parchment.
Invert it onto a powdered sugar-dusted surface. Peel off the parchment and dust the top.
Slice into cubes and coat all sides in more sugar to prevent sticking.
What to Serve It With
Float them in hot chocolate or lattes
Sandwich between graham crackers and chocolate for homemade s’mores
Dip them in chocolate or toast them slightly for a gourmet touch
Add to dessert boards or holiday gift boxes
Variations / Substitutions
Use honey instead of maple syrup for a floral twist.
Add vanilla extract or ground cinnamon to the whip stage for extra warmth.
Swirl in chocolate chips or crushed peppermint before setting.
Cut into fun shapes with cookie cutters for themed events or parties.
Storage & Leftovers
Store marshmallows in an airtight container at room temperature.
Best enjoyed within 2 weeks for optimal freshness.
Keep away from humidity or heat to prevent stickiness.
Re-dust with powdered sugar if the marshmallows start to clump.
FAQs
Why didn’t my marshmallows set properly?
They may not have reached the correct syrup temperature (235°F), or the gelatin didn’t bloom fully.
Can I make this without a candy thermometer?
You can, but it’s risky. Try the cold water test—drop syrup into a bowl of cold water; if it forms a soft ball, it’s ready.
Can I use gelatin sheets instead of powdered?
Yes! Use the appropriate weight equivalent (typically 3 standard sheets for 1 Tbsp powdered).
How do I make them less sweet?
Maple syrup is naturally sweet, so reducing sweetness is tricky.
Add a bit more salt or use darker Grade B syrup for a richer flavor.
Are these safe for kids?
Absolutely! Just be cautious with the hot syrup stage—adults only.
Can I freeze homemade marshmallows?
It’s not recommended. Freezing can alter texture and create stickiness when thawed.
What can I do with leftovers?
Add to brownie batter, melt into cereal treats, or gift in cellophane bags!
Final Thoughts
These Maple Marshmallows are everything I love in a homemade treat—soft, nostalgic, and just the right amount of sweet.
They bring cozy comfort to any drink or dessert and are surprisingly simple to whip up.
Once you try these, store-bought marshmallows just won’t compare.
Whether you’re making a cozy batch for yourself or sharing them with friends, this recipe is sure to become a seasonal favorite.
Homemade Maple Marshmallows
Ingredients
- 1/3 cup cold water
- 1 Tbsp powdered gelatin
- 1 cup maple syrup
- Pinch of salt
- Confectioner’s sugar for dusting
Instructions
- Lightly butter a 9×13-inch pan.
- Line it with parchment paper and dust generously with confectioner’s sugar.
- Pour cold water into the bowl of a stand mixer.
- Sprinkle gelatin over the water and let bloom.
- In a deep saucepan, bring maple syrup to a boil.
- Cook over medium heat until it reaches 235°F. Do not stir.
- Turn mixer on low. Slowly drizzle hot syrup into the gelatin.
- See full steps with tips & photos → https://p4pd.org/homemade-maple-marshmallows/
Notes
- Use 100% pure maple syrup for best flavor—avoid pancake syrup.
- A candy thermometer is essential to ensure the syrup hits the correct temperature.
- Marshmallows can be stored in an airtight container at room temp for up to 1 week.