
There’s something magical about homemade candy—especially when it melts in your mouth with buttery caramel and creamy vanilla.
These Vanilla Cream Caramels take me back to childhood holidays and cozy afternoons making sweet treats from scratch.
Why You’ll Love This Recipe
Buttery homemade caramel – Made from scratch with real cream and brown sugar.
Creamy vanilla center – Soft, sweet filling adds nostalgic candy-shop flavor.
Perfect texture – Smooth, chewy, and never too hard.
No candy thermometer stress – Just follow the temperature and steps.
Freezer-friendly – Make ahead and enjoy anytime.
Great for gifting – Wrap them individually for holiday tins or party favors.
What You’ll Need (Ingredient Highlights)
For the Caramel
Unsalted butter + brown sugar – A rich, deep base for the caramel.
Evaporated milk + heavy cream – Create a luxuriously smooth and creamy texture.
Corn syrup – Prevents crystallization and gives perfect chew.
Salt – Balances the sweetness.
For the Vanilla Cream
Powdered sugar + shortening – The base of a thick, moldable filling.
Corn syrup – Adds smoothness and elasticity.
Vanilla extract – Brings that classic old-fashioned flavor.
Pro Tips Before You Start
Use a heavy-bottomed saucepan for even heat distribution.
Stir constantly while cooking caramel to prevent burning.
Let caramel cool completely before spreading the cream.
Your cream should feel like soft Play-Doh—adjust water sparingly.
A bench scraper makes cutting and rolling much easier.
How to Make Vanilla Cream Caramels
Step 1: Prepare the Caramel Base
Line a work surface with parchment paper, large enough for a 10” x 16” rectangle.
In a thick-bottomed pot, combine butter, brown sugar, salt, evaporated milk, heavy cream, and corn syrup.
Heat over medium-low, stirring constantly until everything is melted and smooth.
Step 2: Cook the Caramel
Raise the heat to medium and bring the mixture to a boil while stirring.
Then increase to medium-high and cook until the temperature reaches 241°F (soft-ball stage).
Remove from heat immediately.
Step 3: Shape and Cool the Caramel
Pour the hot caramel onto the parchment and gently spread into a thin 10” x 16” rectangle.
Let it cool completely at room temperature while you prepare the cream filling.
Step 4: Make the Vanilla Cream
In a mixing bowl, beat the shortening on low speed for one minute.
Gradually add powdered sugar, about a time, mixing after each addition.
Add vanilla and corn syrup. Mix until it resembles crumbly dough.
Add a small amount of water and continue mixing until the texture becomes pliable and Play-Doh-like.
Turn the mixture out onto parchment and knead gently until smooth.
Step 5: Assemble the Caramels
Cut the caramel sheet into four even rectangles.
Spread a thin layer of vanilla cream over each, leaving margin on one long edge.
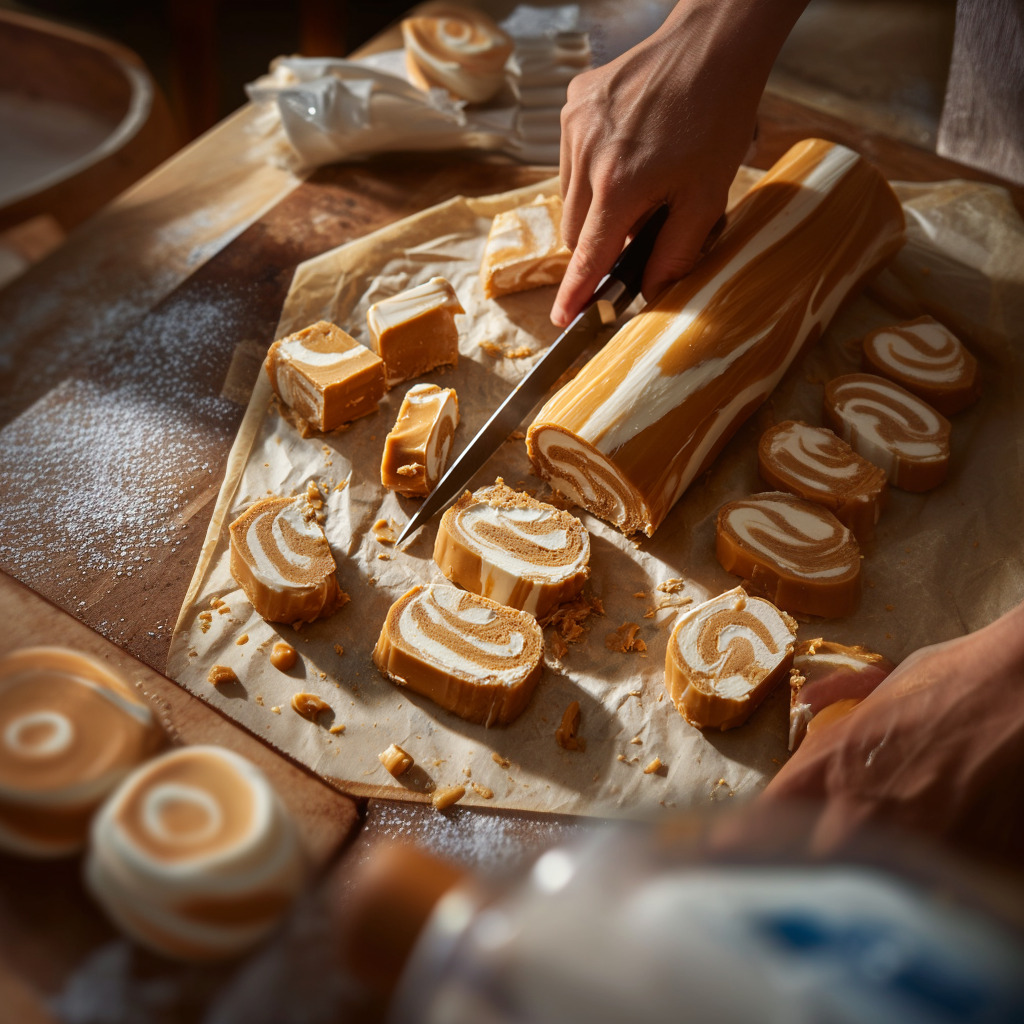
Gently roll each piece into a tight log.
Using your hands, roll the log further into a rope about 12–15 inches long.
You should feel no seam once fully rolled.
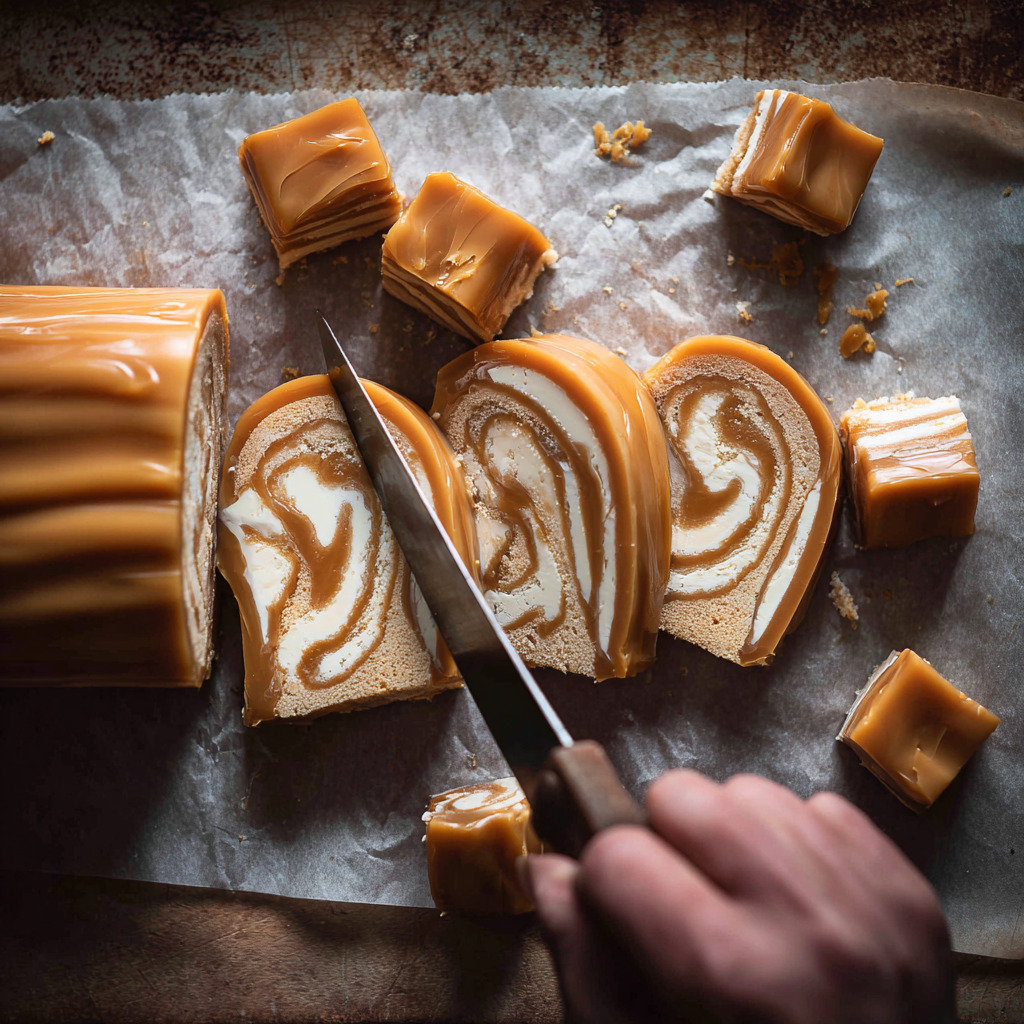
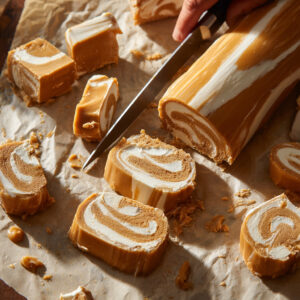
Step 6: Slice and Wrap
Cut each rope into pieces using a sharp knife.
Wrap each caramel individually in wax paper or candy wrappers.
Store at room temperature in an airtight container.
What to Serve It With
A cup of black tea or espresso for balance
Holiday cookie trays for variety
Small gift boxes or candy jars for parties
Paired with dark chocolate squares
Variations / Substitutions
Add sea salt flakes on top of the caramel before rolling for a salted caramel twist.
Use coconut oil in place of shortening for a subtle flavor change.
Swap vanilla extract for almond or maple for a new spin.
Dip finished pieces in melted chocolate for a candy-store look.
Storage & Leftovers
Room Temperature: Store wrapped caramels in an airtight container for up to 2 weeks.
Fridge: Extend freshness to 1 month. Let soften before eating.
Freeze: Wrap tightly and freeze for up to 3 months. Thaw at room temp.
Avoid heat or humidity: Store in a cool, dry place to prevent stickiness.
FAQs
Do I need a candy thermometer for this recipe?
Yes, reaching exactly 241°F is key to achieving the right caramel texture.
Can I make the caramel ahead of time?
Yes. You can pour and cool it in advance, then assemble later the same day.
Can I skip the vanilla cream filling?
You can, but it’s what makes these caramels special. They’ll still be delicious plain.
Is there a way to make the cream less sweet?
Try reducing the powdered sugar slightly and adding a pinch of salt.
Can I double the recipe?
Absolutely—just make sure your pot is large enough and cook carefully.
My caramel turned too hard—what went wrong?
It likely cooked past 241°F. Try using a calibrated thermometer next time.
Can I use margarine instead of butter?
Real butter is best for flavor and texture. Margarine may alter the consistency.
Final Thoughts
These Vanilla Cream Caramels are a beautiful blend of nostalgia and homemade care.
From the buttery caramel to the soft vanilla center, they’re everything I want in a candy.
I love wrapping them up and sharing them with friends—though a few always stay with me.
Once you try them, they’ll become a holiday tradition.
Vanilla Cream Caramels
Ingredients
Caramel
- 113 grams unsalted butter
- 340 grams brown sugar
- 4 grams salt
- 340 grams evaporated milk 1 can
- 170 grams heavy cream
- 285 grams corn syrup
Vanilla Cream
- 475 grams powdered sugar
- 90 grams vegetable shortening
- 75 grams corn syrup
- 2 grams vanilla
Instructions
- Line parchment paper for a 10” x 16” rectangle.
- In a heavy-bottomed pot, combine all caramel ingredients.
- Cook over medium-low, stirring constantly, until melted.
- Increase to medium, bring to boil while stirring.
- Raise to medium-high and cook until caramel reaches 241°F.
- Pour onto parchment, spread evenly. Cool completely.
- See full steps with tips & photos → https://p4pd.org/vanilla-cream-caramels/
Notes
- Use a candy thermometer for best results—241°F is key!
- Flavor the vanilla cream with almond or peppermint extract for variations.
- Caramel must be fully cooled before rolling to prevent melting the filling.